
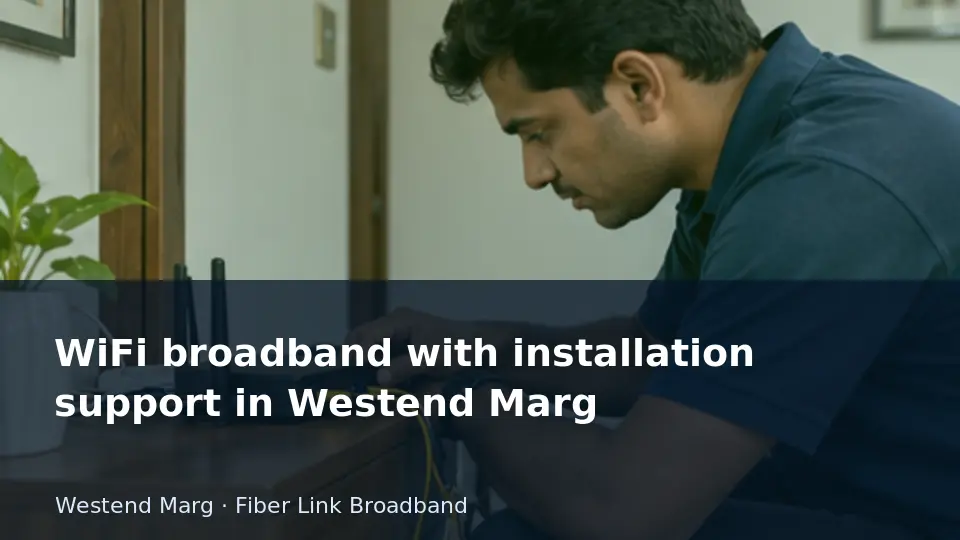
A newly installed line may work while a device is joined to the wrong network or placed in a weak room. Start with basic configuration and coverage checks.
This guide is for readers planning or reviewing a connection in Westend Marg. It separates the decision you can make now from details that need an address-specific reply. The examples describe checks you can perform or discuss with the installer; they are not reports of a customer installation, measured local speeds or a promise that every nearby building is serviceable.
Create evidence that support can use
The most useful fault report says what failed, when it began and how broadly it affects the connection. Distinguish one device, one room and all devices. Note whether the optical terminal is powered and describe its labelled indicators without guessing their meaning. If a safe wired comparison is possible, include that result as well as the wireless symptom. Use the model's instructions or the provider's guidance for any restart.
Keep an account reference and a ticket number, but never include passwords, one-time codes or unrelated private information. A normal restart should not be confused with a factory reset, which can erase configuration and complicate diagnosis. For an intermittent issue, timestamps and recovery times help more than repeated vague messages. Update the existing ticket when new evidence appears, and ask for the next action or update time. If a physical fiber route looks damaged, leave connectors and repairs alone and arrange professional attention. An organised report cannot guarantee immediate repair, but it removes avoidable uncertainty from the investigation.
Treat the indoor network as a separate system
The fiber connection normally reaches an optical terminal, while a router and its wireless radios serve the local devices. Some installations combine functions in one box, and others use separate equipment. The distinction matters because a working outside connection can coexist with poor wireless coverage. Before buying a faster package, establish whether a suitably connected wired device works as expected.
A coverage survey should reflect normal use. Test with doors and furniture in their ordinary positions, use the same device between rooms and note which band or access point serves it. A signal indicator is helpful but does not replace a real call or playback test. If additional equipment is needed, its link back to the main network is part of the design. A secondary unit with an unreliable backhaul can move the bottleneck without resolving it. Discuss permitted cable routes and access-point placement before selecting hardware.
1. Restart equipment without erasing its configuration
A normal power restart and a factory reset are different actions. A reset can remove settings needed for service and make a simple fault harder to resolve.
Next step: Use only the restart procedure advised by support and avoid the reset button unless explicitly instructed.
2. Read terminal lights before reporting a fiber fault
The optical terminal's indicators can provide useful clues, but labels vary by model. A clear photo and the equipment model help support interpret them.
Next step: Report the indicator labels and colours without unplugging or looking into the optical connector; follow the provider's instructions.
3. Check browser and device limits on fast broadband
A slow browser, background workload or device interface can distort a speed measurement. Testing another capable device can help separate equipment from service issues.
Next step: Close unnecessary transfers and compare devices on the same connection before changing router settings or the plan.
4. Follow up a support ticket with new evidence
Repeated messages saying still not working add less value than a changed symptom or a new controlled test. Keep updates in the existing ticket where possible.
Next step: Add timestamps and results, ask for the next action and avoid opening duplicate reports unless the provider requests them.
5. Agree the installation scope before reserving a slot
Booking a visit and agreeing the work are separate steps. Router position, cable route and any additional equipment should be discussed while changes remain easy.
Next step: Send a simple description of the required rooms and ask which work is included in the proposed visit.
6. Protect a damaged fiber route while awaiting repair
A loose or damaged cable is not a household repair project. Pulling, sharply bending or opening optical connections can make the fault worse.
Next step: Keep people away from the affected section and send a description or safe photo to the provider for a repair visit.
7. Escalate a recurring fault using its history
A recurring issue deserves a summary of previous incidents rather than a fresh disconnected story each time. A concise history makes the pattern visible.
Next step: List ticket numbers, dates, fixes attempted and recurrence conditions and request a review of that pattern.
8. Avoid adding repeaters without a coverage plan
Several repeaters can create overlapping networks and extra wireless hops. More equipment does not necessarily create a more stable connection.
Next step: Map the dead spots and identify a strong backhaul location for each added unit; prefer a planned access-point layout.
9. Keep a first-evening baseline after activation
The first normal evening is a useful time to record how the connection behaves with real household use. That record can support later fault comparisons.
Next step: Save the plan, equipment model, wired result and a few room tests without treating one result as a permanent performance guarantee.
10. Compare a fiber provider's installation handover
A clear handover should leave the customer able to identify equipment, report a fault and understand the bill. That practical detail matters after the sales conversation ends.
Next step: Ask what records and tests the installer will provide, including the service identifier and equipment responsibility.
11. Prepare the rooms for a home WiFi installation
Clearing access to the agreed cable route helps the installer work without repeatedly moving furniture. It also makes the final route easier to inspect.
Next step: Make the router area accessible and have someone authorised to approve placement present during the visit.
12. Ask what a fast-installation promise depends on
An early slot still depends on address feasibility, equipment and access. A requested time should not be treated as a guarantee before the provider confirms it.
Next step: Ask which checks are outstanding and when you will receive a confirmed appointment.
13. Replace default router credentials after installation
The password used to join WiFi and the password used to manage the router are different credentials. Changing only the network password can leave administration exposed.
Next step: Set a distinct administrator password, review remote-management settings and save recovery details privately.
14. Choose who can approve installation changes
The person receiving the technician may not have authority to approve drilling, extra cable or charges. Resolve those decisions before the visit.
Next step: Name an authorised contact and agree that material changes to the quote require their confirmation.
15. Keep the booking receipt and account details together
Payment evidence and service details are easiest to manage when stored as one installation record. They help resolve questions about the agreed package later.
Next step: Save the quote, payment receipt, account identifier and activation date without exposing credentials in shared messages.
16. Build a room-to-room WiFi acceptance sheet
Installation is easier to assess when everyone agrees which rooms need service. A vague request for full coverage leaves the important locations undefined.
Next step: List the study desk, television and bedrooms; record the actual task tested in each room before approving extra equipment.
17. Confirm access permissions before a short-notice visit
A technician can arrive on time and still be unable to reach a shaft, terrace or locked utility area. Permission is part of installation readiness.
Next step: Confirm the person who can unlock shared spaces and provide a reachable contact for the appointment window.
18. Choose apartment broadband with building access in mind
A provider may operate nearby yet need permission to use the apartment's shared route. Equipment placement and access can matter as much as the subscription.
Next step: Check the permitted entry path and ask the provider to confirm your unit before comparing longer billing commitments.
Use the guide for your address
For Westend Marg, send Fiber Link Broadband the complete building address, floor and map pin when requesting feasibility or a current quotation. Mention the particular requirement covered by this article so the reply can address your use case. Ask for the service scope, equipment responsibilities and complete payable amount in writing. Retain the response alongside your installation or support record, and revisit any unanswered point before committing to a longer payment period.
Contact 9971524677 or 9990881098. Review the published plan information and request an address check. Current availability and terms need confirmation.
All Fiber Link broadband plans
Compare the monthly plans listed on our broadband plans page.
| Plan | Speed | Monthly price | Included benefits | Availability |
|---|---|---|---|---|
| Fiber Start | 100 Mbps | ₹499/month | Unlimited data, free installation, 24×7 customer support | Enquire |
| Fiber Plus | 200 Mbps | ₹699/month | Unlimited data, free installation, 24×7 priority support | Enquire |
| Fiber Pro | 300 Mbps | ₹799/month | Unlimited data, free installation, 24×7 priority support | Enquire |
| Fiber Ultra | 500 Mbps | ₹1,699/month | Unlimited data, free installation, 24×7 priority support | Enquire |
Router and billing terms: 5G dual-band Wi-Fi router refundable security applies. Confirm the deposit, applicable taxes, billing period, complete first payment and installation feasibility for your address before booking. Terms apply.
Business leased line: Custom bandwidth, equal upload and download speeds, SLA-backed uptime, static IP options and priority local support. Call 9971524677 for a custom quote.